Pros & Cons of Scaffolding Technique
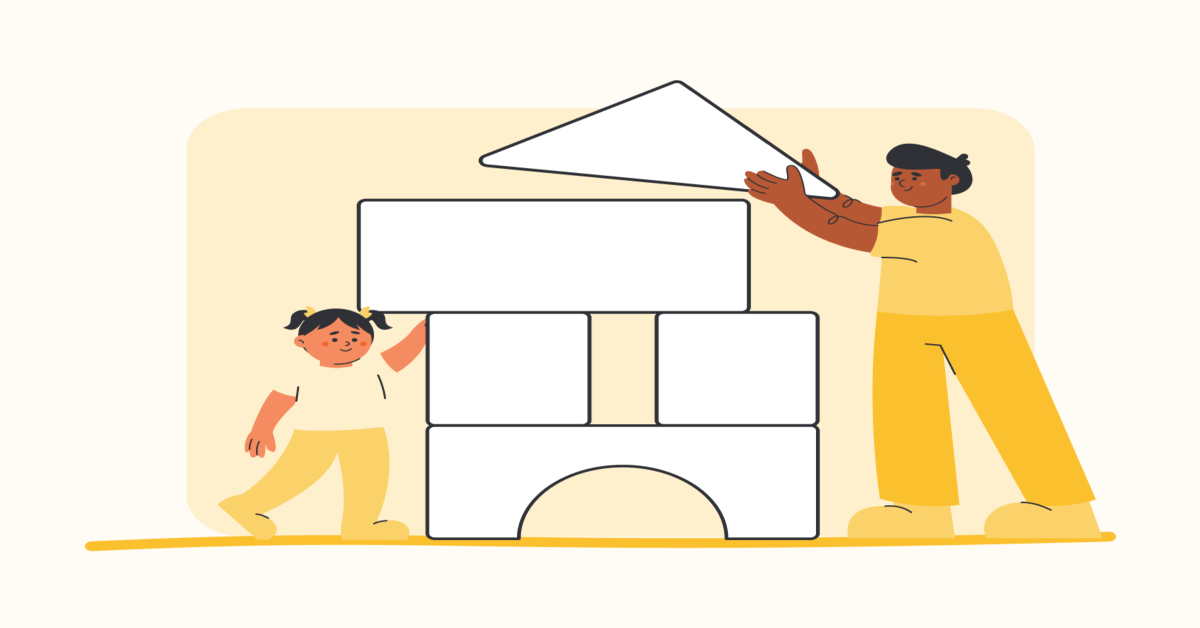
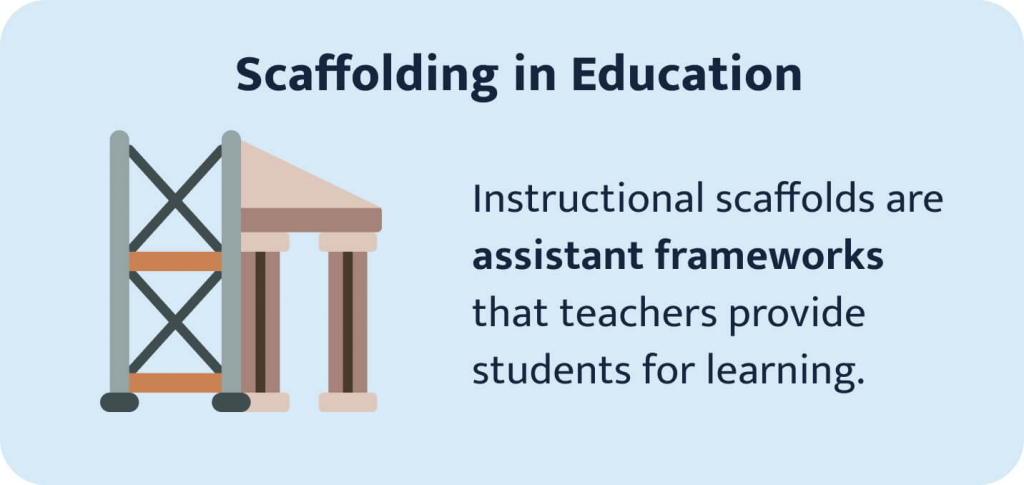
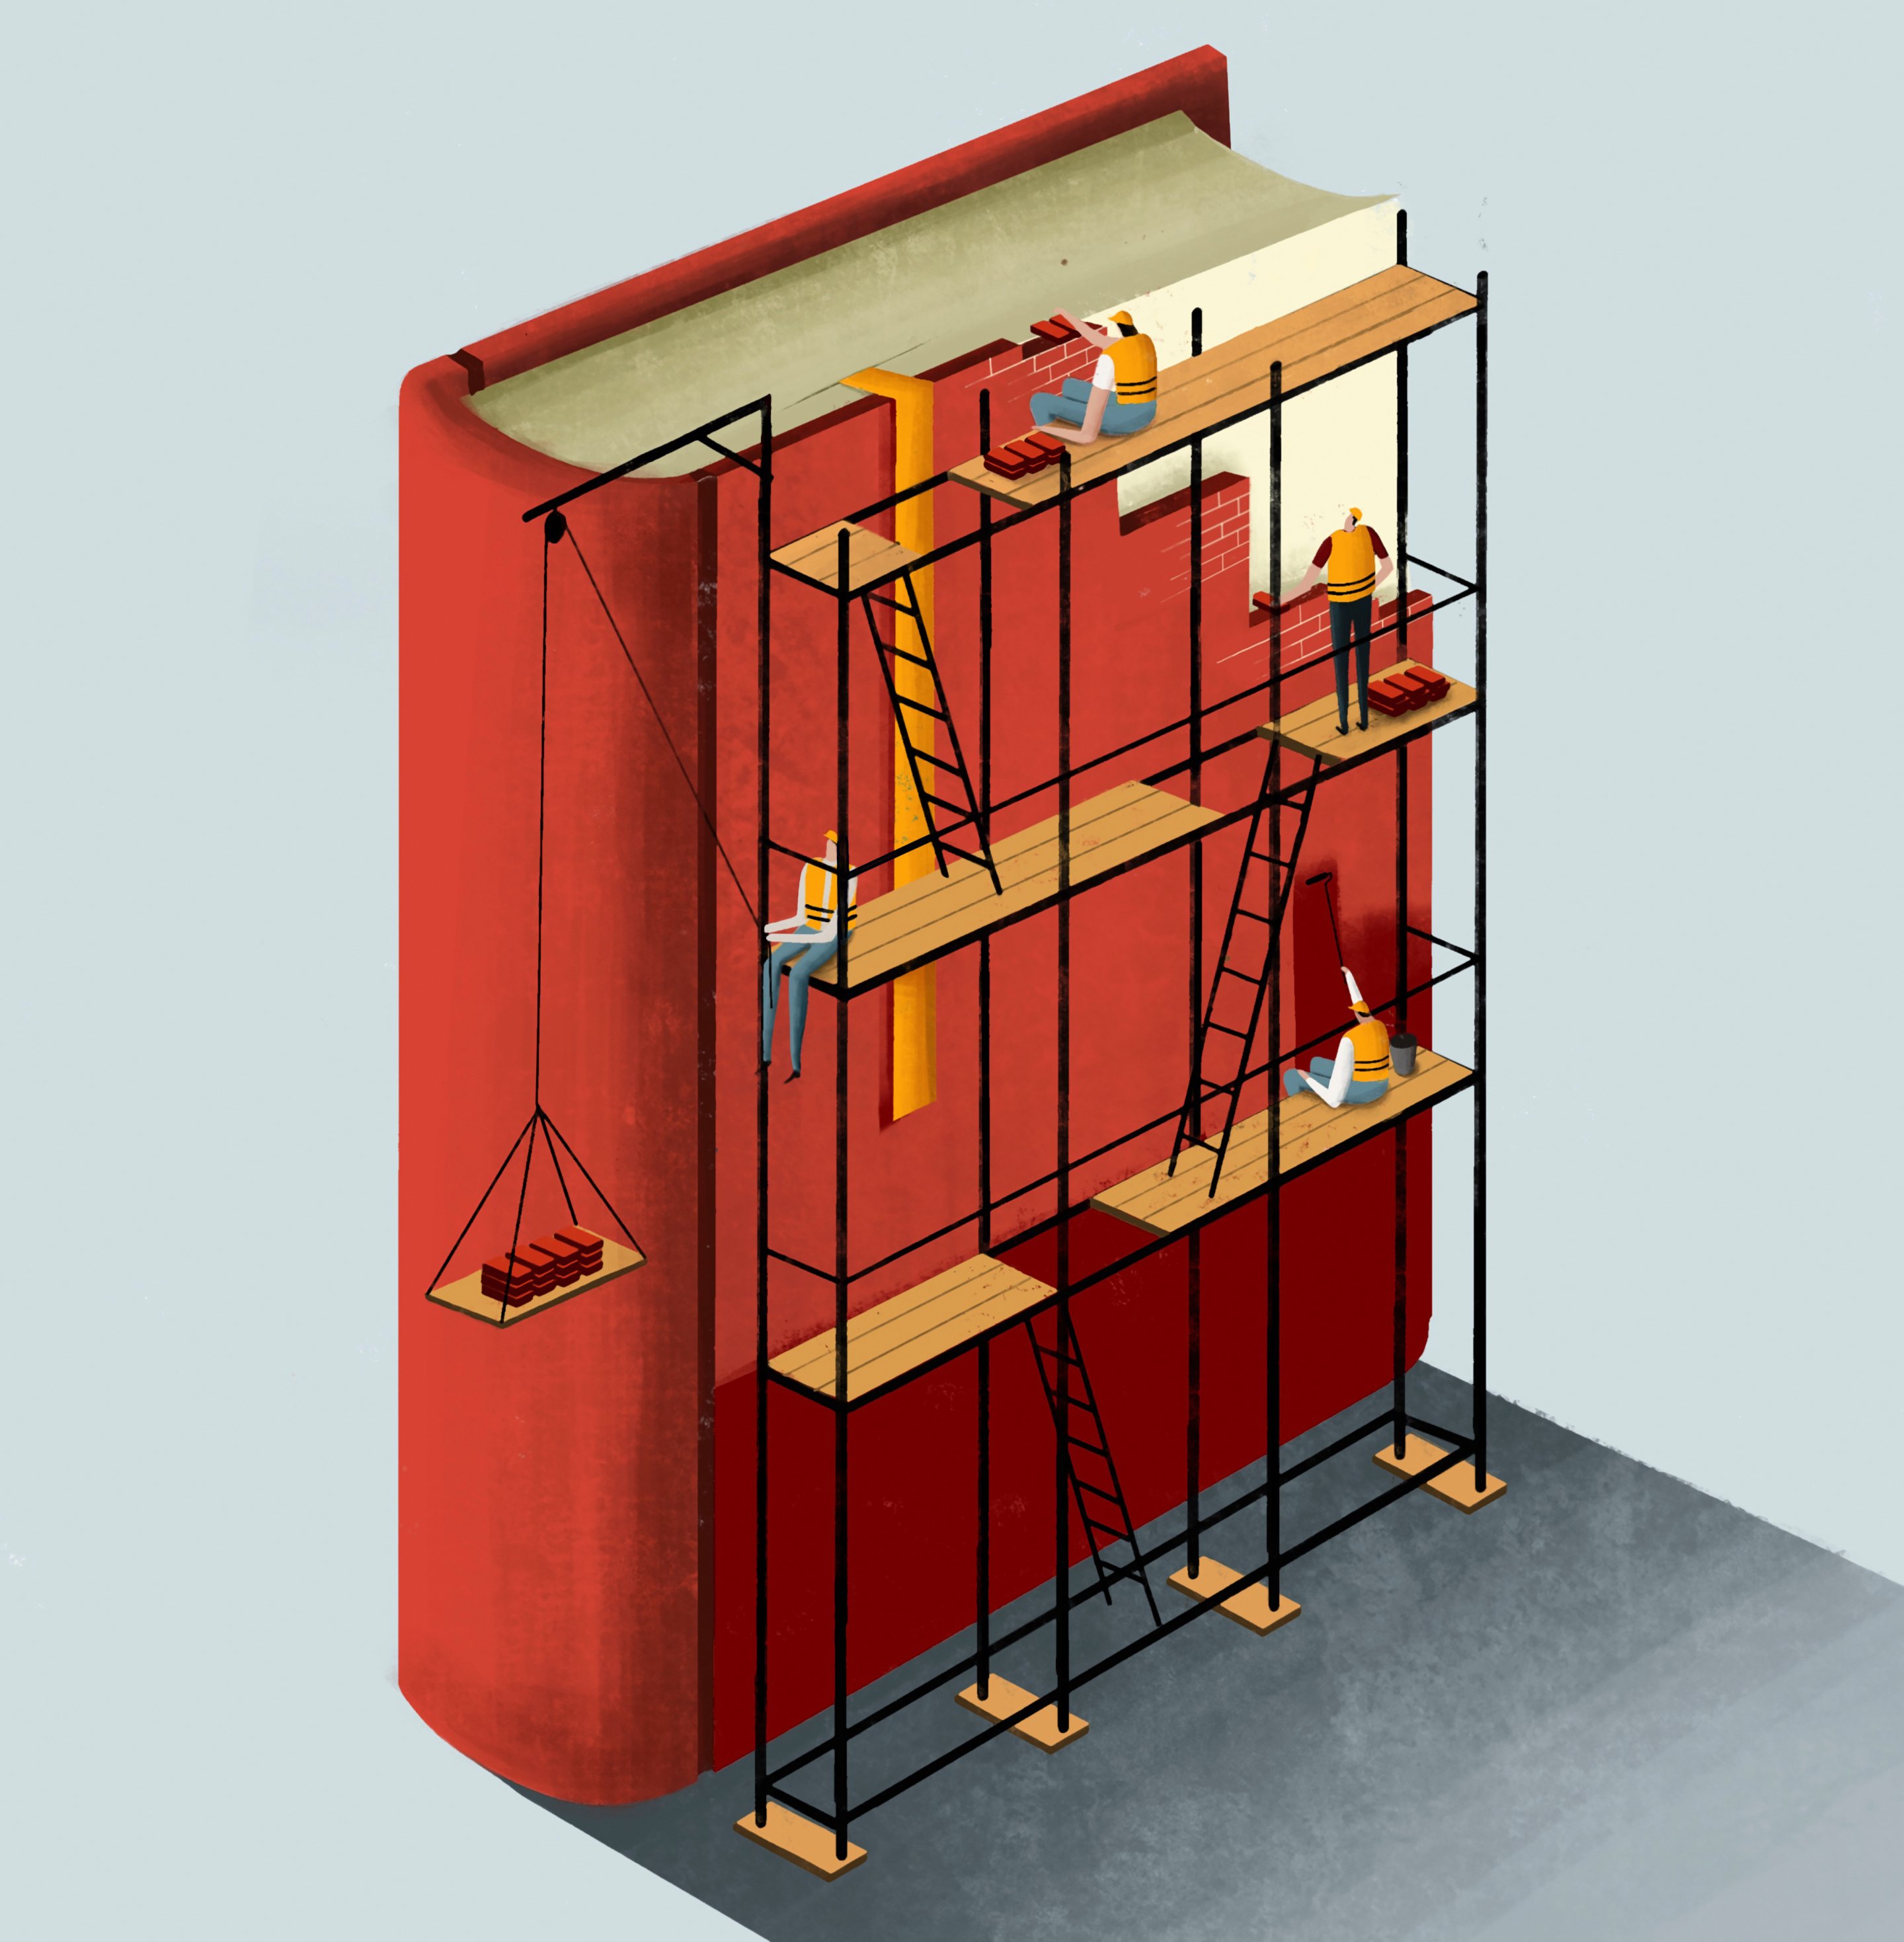
Scaffolding, a widely used technique in education, provides temporary support structures to help students grasp complex concepts or skills. Imagine it like a construction worker’s scaffold – it offers a framework for learning that’s gradually removed as the student becomes more independent. While scaffolding boasts numerous benefits like increased understanding and boosted confidence, it’s not without its drawbacks. This exploration will delve into both the pros and cons of this teaching approach, helping educators understand how to leverage its strengths while mitigating potential pitfalls.
What is Scaffolding Technique?
Scaffolding in teaching and learning is a technique where instructors provide temporary support to students as they grasp new concepts or skills. It’s like building a scaffold for a construction project – it offers a framework for learning that’s gradually removed as the student becomes more independent.
Here are some key features of scaffolding:
- Focuses on the Zone of Proximal Development (ZPD): This concept by psychologist Lev Vygotsky refers to the gap between what a student can learn independently and what they can achieve with guidance. Scaffolding targets this zone by providing the right amount of support for the student’s current level.
- Gradually Faded Support: As the student demonstrates understanding, the teacher gradually removes or reduces the support they provide. This allows the student to take more ownership of their learning and build confidence.
- Variety of Scaffolding Techniques: There are many ways to scaffold learning, including:
- Modeling: The teacher demonstrates the skill or concept step-by-step.
- Questioning: The teacher asks targeted questions to prompt thinking and guide the student.
- Chunking: Breaking down complex tasks into smaller, manageable steps.
- Providing resources: Offering materials like diagrams, graphic organizers, or checklists to support understanding.
- Collaborative learning: Providing opportunities for students to work together and learn from each other.
Pros & Cons of Scaffolding Technique
Pros
- Increased understanding and retention: Scaffolding provides targeted support, allowing students to grasp complex concepts more easily. This leads to deeper understanding and better retention of information compared to simply being presented with new material.
- Boosted confidence and motivation: By breaking down tasks and providing support, scaffolding helps students experience success. This builds confidence in their abilities and motivates them to continue learning.
- Promotes independent learning: The ultimate goal of scaffolding is to gradually remove the support as students gain proficiency. This process helps students develop the skills and strategies needed to become independent learners.
- Adaptable to individual needs: Scaffolding can be tailored to each student’s learning style and current level of understanding. This ensures that all students are challenged appropriately.
- Engaging and interactive: Scaffolding techniques like questioning and collaborative learning can make the learning process more engaging and interactive, fostering a positive learning environment.
Cons:
- Overdependence on teacher support: If scaffolding is not faded out appropriately, students might become reliant on teacher guidance and struggle to tackle challenges independently.
- Stifling creativity and problem-solving: Excessive support can prevent students from developing their own problem-solving skills and exploring alternative approaches.
- Teacher time commitment: Scaffolding effectively requires teachers to be adaptable and provide individualized support, which can be time-consuming.
- Difficulty gauging student understanding: Sometimes, teachers might overestimate or underestimate the support needed, hindering learning progress.
- Potential for frustration: If scaffolding is not removed at the right pace, students might get frustrated with the perceived lack of challenge.
Here are some additional points to consider:
- The effectiveness of scaffolding depends heavily on the skill of the teacher to assess student needs and provide the right kind of support.
- Scaffolding is most beneficial when used strategically and in combination with other teaching methods.
Overall, scaffolding is a powerful tool that can significantly enhance learning, but it’s important to be mindful of potential drawbacks and use it strategically for optimal benefit.
See also: Why Teaching English Abroad at a Summer Camp?

How to apply the scaffolding technique in learning and teaching?
1. Pre-assess student knowledge: Before introducing new material, gauge what students already know about the topic. This helps you tailor the level of scaffolding needed. You can use quizzes, discussions, or brainstorming activities for this purpose.
2. Break down complex tasks: Don’t overwhelm students with a giant leap. Break down complex concepts or skills into smaller, more manageable steps.
3. Utilize modeling and demonstrations: Show students how it’s done! Demonstrate the skill or concept yourself, explaining each step clearly. This provides a visual reference and helps students connect with the material.
4. Ask guiding questions: Don’t just lecture at students. Ask targeted questions that prompt them to think critically and engage with the material. This helps them develop their problem-solving skills and solidify their understanding.
5. Provide graphic organizers and visuals: Visual aids like diagrams, charts, or timelines can be powerful scaffolding tools. They help students organize information, identify key points, and see connections between concepts.
6. Offer tiered practice opportunities: Provide different levels of practice activities to cater to individual student needs. This could involve offering scaffolded versions of tasks with hints or examples alongside more challenging independent practice problems.
7. Encourage collaboration and peer learning: Let students work together! Group activities and discussions allow students to learn from each other, share ideas, and clarify any confusion.
8. Provide feedback and check for understanding: Give students regular feedback on their progress. This can involve checking their work, answering questions, and offering suggestions for improvement.
9. Gradually fade the support: As students demonstrate proficiency, gradually decrease the amount of scaffolding you provide. This could involve offering less detailed instructions, reducing the frequency of prompts, or providing more open-ended tasks.